Introduction:
Cleaning the jets on a whirlpool bathtub is one of those tasks that often gets overlooked — but it’s essential for keeping your tub clean, fresh, and functioning properly. Over time, soap scum, body oils, and bacteria can build up inside the jet system, affecting both water quality and performance. Regular cleaning not only helps your tub look spotless but also ensures every bath is truly relaxing and hygienic. In this guide, you’ll learn exactly how to clean, maintain, and protect your whirlpool bathtub for lasting comfort and peace of mind.
Table of Contents
Why Cleaning Whirlpool Bathtub Jets Is Important
Whirlpool bathtubs are designed to give you a relaxing, spa-like experience — but without proper care, those soothing jets can quickly become a hidden source of dirt and bacteria. Regularly cleaning the jets on a whirlpool bathtub is essential to keep your bathwater clean, your tub running efficiently, and your bathing experience safe.
Over time, soap scum, body oils, hair, and bath product residue can build up inside the jet pipes. This buildup creates a breeding ground for mould, mildew, and bacteria. When you turn on the jets, these contaminants are released back into your bathwater — something no one wants to soak in.
Beyond hygiene, neglecting jet maintenance can also affect the performance of your whirlpool system. Blocked jets can reduce water pressure, cause uneven water flow, and put extra strain on the motor. Consistent cleaning of the jets on a whirlpool bathtub ensures that the system runs smoothly and efficiently for years.
Another reason cleaning matters is odour prevention. Bacteria and mould trapped inside the jets can cause unpleasant smells, even when the tub appears spotless. Regular cleaning removes buildup before it becomes a problem, keeping your bathroom fresh and inviting.
Finally, clean jets mean healthier skin. Bathing in contaminated water can cause irritation or infections, especially for people with sensitive skin. By cleaning the jets on your whirlpool bathtub once a month, you protect both your tub and your well-being.
What You’ll Need Before You Start
Before you begin cleaning the jets on a whirlpool bathtub, it’s important to gather all the right supplies. Having everything ready wit hill make the process faster, easier, and more effective. You don’t need expensive tools — just a few common household items can do the job perfectly.
Essential Supplies
Here’s what you’ll need:
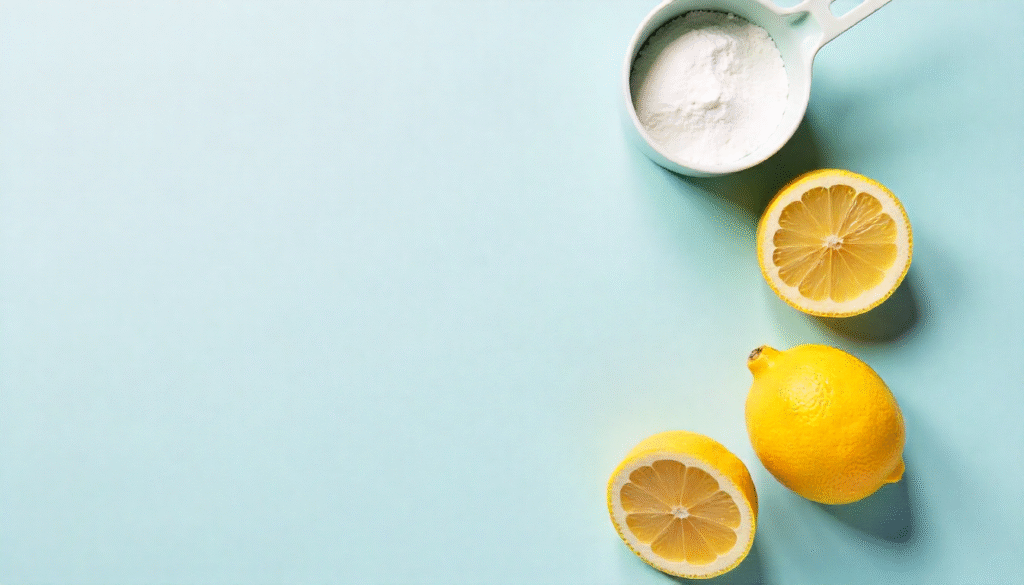
- White vinegar – A natural disinfectant that helps break down mineral deposits and soap scum inside the jets.
- Baking soda – Works with vinegar to loosen grime and neutralise odours.
- Dish soap – Cuts through oily residue and helps remove buildup in the pipes.
- Measuring cup – For adding the right amount of cleaning solution.
- Soft cloth or sponge – Used to wipe down the tub surface and jet openings without scratching.
- Old toothbrush – Perfect for scrubbing around tight areas and jet covers.
Optional Items
If your tub hasn’t been cleaned in a while or the buildup is tough, consider adding:
- Commercial whirlpool jet cleaner – Designed specifically for deep cleaning internal pipes.
- Microfibre towel – For drying the tub and jets after cleaning to prevent mildew.
- Rubber gloves – to protect your hands from hot water and cleaning products.
Pro Tip:
Always check your manufacturer’s manual before using any cleaning solution. Some whirlpool systems may recommend specific cleaners or caution against certain ingredients to prevent damage to seals or internal parts.
Having these items prepared means you can focus on cleaning the jets on your whirlpool bathtub efficiently — without interruptions or delays.
Step-by-Step Guide to Cleaning the Jets on a Whirlpool Bathtub
Regular maintenance doesn’t have to be complicated. With a few easy steps, you can keep your whirlpool tub fresh, hygienic, and running smoothly. Follow this step-by-step guide to cleaning the jets on a whirlpool bathtub for the best results.
Step 1: Fill the Tub with Hot Water
Start by filling your bathtub with hot water until the water level is at least 2–3 inches above the highest jet. The hot water helps loosen soap scum, oil, and residue inside the jet pipes.
Avoid using boiling water, as it can damage seals or tubing.
Step 2: Add Cleaning Ingredients
Once the tub is filled, add your cleaning solution. You can choose between a natural mix or a commercial cleaner:
- Natural option: Add 2 cups of white vinegar and ½ cup of baking soda to the water.
- Commercial option: Use the recommended amount on the product label.
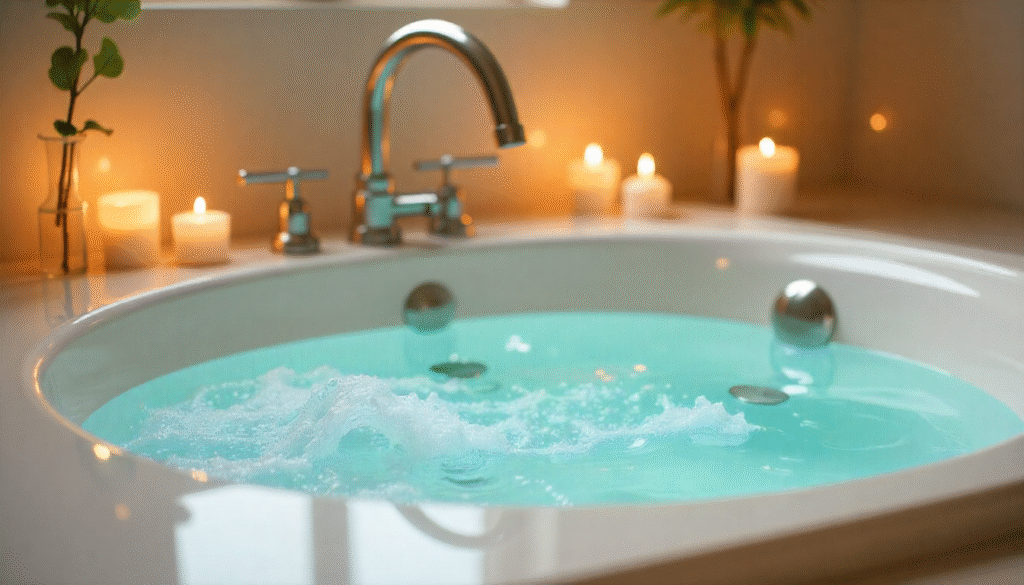
Step 3: Run the Jets
Turn on the jets and let them run for 10–15 minutes. The circulating water will carry the cleaning solution through the internal pipes, loosening dirt, grime, and bacteria hiding inside.
You may see dark particles or residue coming out — that’s a good sign the cleaner is working!
Step 4: Drain and Refill
After running the jets, drain the dirty water completely. Then, refill the tub with clean warm water to rinse out any remaining debris or vinegar smell.
Run the jets again for 5–10 minutes to flush the system thoroughly.
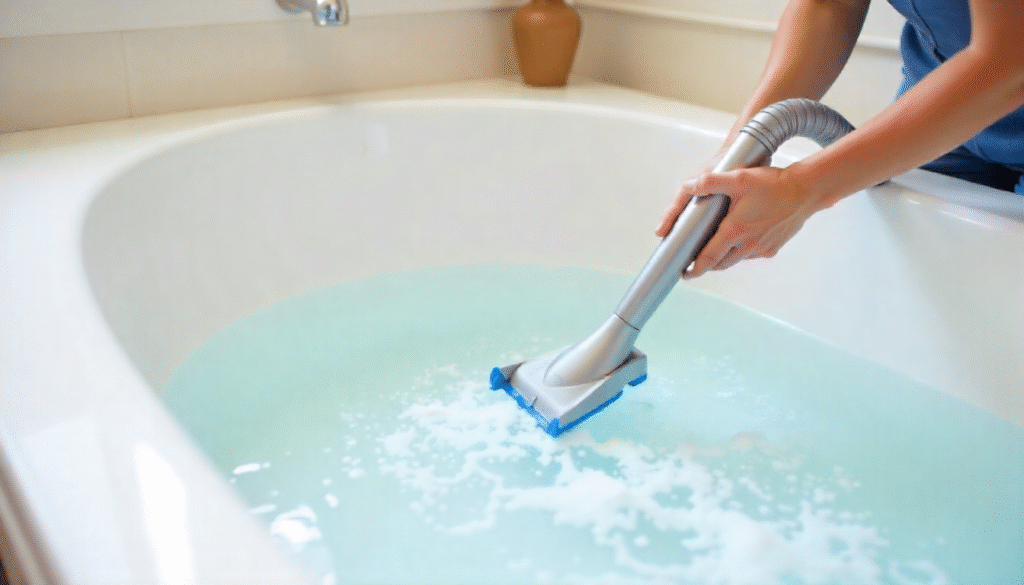
Step 5: Wipe and Dry
Once the tub is drained again, use a soft cloth or sponge to wipe around each jet opening and the tub surface. If needed, use a toothbrush to scrub tight spots or stubborn residue.
Finally, dry the tub with a clean microfibre towel to prevent mould or mildew.
Quick Tip:
If it’s your first time cleaning the jets on a whirlpool bathtub, repeat the process twice to ensure all buildup is gone — especially if the tub hasn’t been used or cleaned in a long time.
Deep Cleaning Tips for Stubborn Build-Up
Sometimes regular cleaning isn’t enough — especially if your whirlpool tub hasn’t been used or maintained for a while. Over time, residue from soap, oils, and minerals can harden inside the jets and pipes. In such cases, a deep clean can restore your tub’s performance and hygiene. Here are some effective deep cleaning tips for stubborn build-up when cleaning the jets on a whirlpool bathtub.
1. Use a Stronger Cleaning Solution
If vinegar and baking soda aren’t cutting through the grime, try adding ½ cup of bleach to a full tub of hot water. Run the jets for 10–15 minutes, then drain and rinse thoroughly with clean water.
Bleach kills mold, mildew, and bacteria — but use it sparingly and never mix it with vinegar or other chemicals.
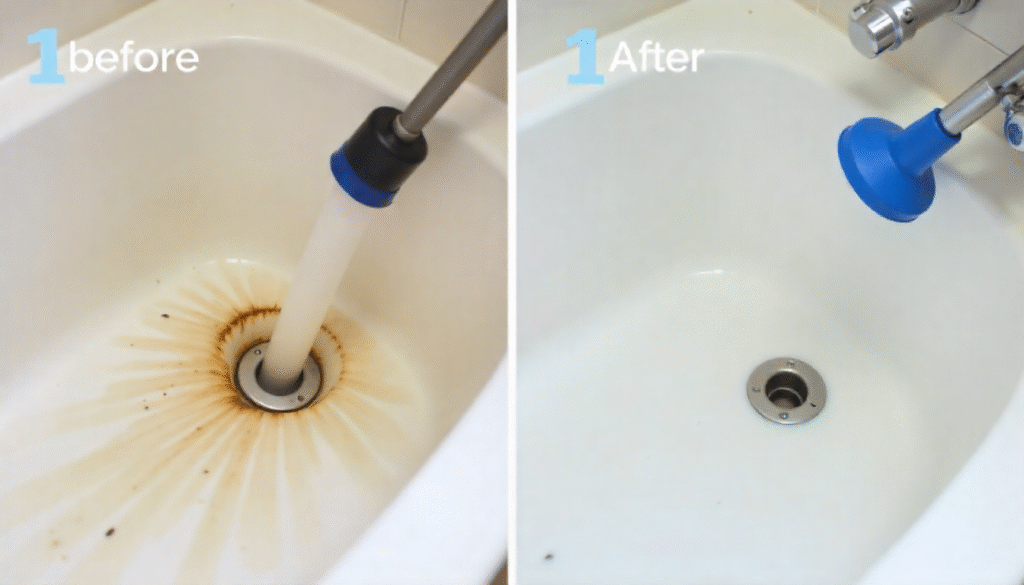
2. Scrub Around the Jet Nozzles
After running the cleaning cycle, check around each jet. Use a soft toothbrush or cotton swab dipped in vinegar to scrub around the openings and remove any visible buildup. This helps eliminate grime that the circulating water might have missed.
3. Clean the Air Intake Cover
Many whirlpool tubs have an air intake cover that collects lint and debris over time. Unscrew the cover and rinse it with warm, soapy water. Clean the area around it before reattaching. This improves airflow and keeps the system efficient.
4. Use a Commercial Jet Cleaner for a Deep Flush
For heavily used tubs, consider using a specialised jet cleaner made for whirlpool systems. These products are designed to dissolve biofilm, mineral buildup, and hidden residue deep within the pipes. Follow the manufacturer’s instructions for best results.
5. Run an Extra Rinse Cycle
After any deep cleaning session, always run the jets again with clean warm water to remove traces of cleaning agents. This ensures that no chemicals or residue remain in the system before your next bath.
Pro Tip:
If you notice recurring buildup even after regular maintenance, it may be time to have your whirlpool system professionally cleaned. A deep professional service can reach internal pipes that home cleaning can’t fully access.
By following these deep cleaning methods, you’ll keep your whirlpool jets running smoothly, extend the life of your system, and maintain a more sanitary bathing environment. Consistent cleaning of the jets on a whirlpool bathtub not only preserves its beauty but also ensures every soak feels fresh and rejuvenating.
How Often Should You Clean the Jets?
Keeping your whirlpool bathtub clean isn’t just about looks — it’s about maintaining performance and hygiene. Knowing how often to clean the jets ensures that your bath remains relaxing, safe, and free from hidden buildup.
As a general rule, cleaning the jets on a whirlpool bathtub once a month is recommended for regular users. If you use your tub several times a week, you may want to clean it every 2–3 weeks to prevent soap scum, bacteria, and mold from building up inside the pipes.
For tubs that are used occasionally, cleaning them every 2–3 months is usually sufficient — just make sure to run the jets with water once in a while to keep the system functioning smoothly.
Factors That Affect Cleaning Frequency
The ideal cleaning schedule can vary depending on a few factors:
- Frequency of use: The more often you use your tub, the faster residue builds up.
- Type of products: Bath oils, salts, and bubble baths can leave sticky residue in the jets.
- Water quality: Hard water can cause mineral deposits that need more frequent cleaning.
- Ventilation: Poor bathroom airflow can encourage mold growth inside and around the jets.
Pro Tip:
If you ever notice a musty smell, visible residue, or cloudy water coming from the jets, it’s a sign your tub needs cleaning — even if it’s ahead of schedule. Regular cleaning of the jets on your whirlpool bathtub not only prevents these problems but also keeps your spa-like experience enjoyable every time you use it.
Common Mistakes to Avoid
Even with the right steps, it’s easy to make small errors that reduce the effectiveness of cleaning the jets on a whirlpool bathtub. Avoiding these common mistakes will help you protect your tub, extend its lifespan, and ensure every cleaning session truly pays off.
1. Using Harsh Chemicals
Avoid strong chemical cleaners like bleach-based bathroom sprays or drain openers (unless specifically recommended). These can damage the tub’s surface, corrode seals, and wear down the internal jet system. Stick to mild, non-abrasive cleaners such as vinegar, baking soda, or a jet-specific cleaner.
2. Skipping Regular Cleaning
Waiting too long between cleanings allows grime, mold, and bacteria to build up inside the pipes. This can cause odors, cloudy water, or even black residue when you turn on the jets. Make a habit of cleaning the jets on your whirlpool bathtub at least once a month to prevent these issues.
3. Not Rinsing Properly
After running a cleaning cycle, always refill the tub with clean water and run the jets again to flush out any leftover cleaning solution. Skipping this step can leave residue behind, which may cause skin irritation or affect water quality during your next bath.
4. Running Jets Without Enough Water
Turning on the jets when the water level is too low can cause air to enter the system, potentially damaging the motor or pump. Always make sure the water level is at least 2–3 inches above the highest jet before running them.
5. Ignoring the Jet Openings
Many people focus only on circulating the cleaning solution but forget to wipe around the jet nozzles after ward. Dirt and buildup can cling to these edges, undoing much of your cleaning effort. Use a toothbrush or sponge to gently scrub around each jet after the rinse cycle.
Pro Tip:
Always read your manufacturer’s care instructions. Different whirlpool tubs have unique designs, and following the recommended cleaning routine will prevent damage while keeping your system in top shape.
Avoiding these mistakes makes cleaning the jets on a whirlpool bathtub faster, safer, and more effective — leaving your tub spotless and your bath time worry-free.
Eco-Friendly and DIY Jet Cleaning Solutions
If you prefer natural methods over chemical cleaners, there are plenty of safe and effective ways to keep your whirlpool tub fresh. Using eco-friendly and DIY cleaning solutions not only protects your health and the environment but also helps preserve your tub’s finish and internal components. Here’s how to make cleaning the jets on a whirlpool bathtub both green and efficient.
1. Vinegar and Baking Soda Mix
One of the most popular natural cleaners is a simple combination of white vinegar and baking soda.
- Fill your tub with hot water about 2–3 inches above the highest jet.
- Add 2 cups of white vinegar and ½ cup of baking soda.
- Run the jets for 10–15 minutes, then drain and refill with clean water for a rinse cycle.
This eco-friendly solution dissolves soap scum, removes odours, and disinfects the jets — all without harsh chemicals.
2. Lemon Juice and Vinegar
Lemon juice is a great natural alternative if you want a fresh scent along with cleaning power.
- Mix 1 cup of lemon juice with 1 cup of vinegar and pour it into the hot water.
- Let the jets run for about 10 minutes.
The natural acidity helps break down mineral deposits and leaves your tub smelling clean and citrusy.
3. Essential Oils for a Refreshing Finish
After cleaning the jets on your whirlpool bathtub, add a few drops of tea tree oil or lavender oil during your rinse cycle. These oils have natural antibacterial properties and leave a relaxing aroma without synthetic fragrances.
4. DIY Paste for Jet Nozzles
For visible buildup around jet openings, mix baking soda and water into a thick paste. Apply it to the areas around the nozzles, let it sit for 10 minutes, then scrub gently with a soft toothbrush or sponge. This simple paste is perfect for spot-cleaning without scratching the surface.
Pro Tip:
Avoid using harsh store-bought products labelled as “strong cleaners” or “fast-acting.” Many contain chlorine or ammonia, which can damage seals and internal components. Natural cleaners are just as effective when used regularly and are much safer for both you and your whirlpool system.
Using these eco-friendly and DIY solutions for cleaning the jets on a whirlpool bathtub keeps your tub fresh, your water clean, and your environment toxin-free — all while saving money on commercial products.
Conclusion
A whirlpool bathtub is one of the best ways to unwind, but to truly enjoy that spa-like comfort, regular care is essential. By cleaning the jets on a whirlpool bathtub consistently, you keep your tub hygienic, odor-free, and performing at its best.
The process doesn’t have to be complicated — a few simple steps using common household items like vinegar and baking soda can make a big difference. Regular maintenance prevents stubborn buildup, extends the life of your whirlpool system, and ensures every bath feels fresh and relaxing.
So, whether you use your whirlpool tub daily or just once in a while, make jet cleaning part of your monthly routine. With a little time and the right approach, you’ll always have a sparkling clean tub that’s ready whenever you need to unwind.Cleaning the jets on a whirlpool bathtub is one of those tasks that often gets overlooked — but it’s essential for keeping your tub clean, fresh, and functioning properly. Over time, soap scum, body oils, and bacteria can build up inside the jet system, affecting both water quality and performance. Regular cleaning not only helps your tub look spotless but also ensures every bath is truly relaxing and hygienic. In this guide, you’ll learn exactly how to clean, maintain, and protect your whirlpool bathtub for lasting comfort and peace of mind.